How to Cover Dark Circles: Essential Concealer Techniques & Tips
Contents
Waking up to dark circles even after a full night’s sleep is a frustratingly common experience. You look exhausted, no matter how much rest you actually got. This is because several factors beyond sleep contribute to under-eye shadows, including genetics, aging, iron deficiency, and dehydration. The good news is that with the right products and application methods, you can effectively minimize or completely mask the look of dark circles. This guide covers everything from picking the perfect concealer to mastering professional-level application steps.
Why Do Dark Circles Form?
The skin under your eyes is incredibly thin and delicate compared to the rest of your face. This thinness makes blood vessels more visible, creating a bluish or purple tint. As you age, the skin loses collagen and fat, becoming even thinner and allowing shadows to settle in the hollows. Beyond the basic anatomy, common triggers for dark circles include:
- Genetics (family history of hyperpigmentation)
- Lack of quality sleep and fatigue
- Allergies and nasal congestion
- Dehydration and poor diet
- Sun damage and high stress levels
- Smoking and alcohol consumption
Choosing the Right Concealer for Your Under-Eyes
Not all concealers are created equal, and the under-eye area has very specific needs. Because this region has fewer oil glands and is prone to creasing, you need a formula that is hydrating, lightweight, and easy to blend. Here are the main types to consider:
- Liquid Concealer: Ideal for daily wear and a natural-looking finish. A high-pigment, semi-matte formula like the Flormar Stay Perfect Liquid Concealer offers excellent coverage without drying out the skin, and it can stay put for up to 24 hours.
- Stick Concealer: Delivers high pigment density with a thicker consistency. It is a great choice for targeting stubborn or deeply pigmented dark circles.
- Cream Concealer: Provides a dewy, hydrating finish that is perfect for mature or dry skin. For combination or oily skin, a creamy compact powder used wet can provide full coverage without shine, similar to the Flormar Wet & Dry Matte Compact Powder.
How to Match Your Concealer Shade
For the most natural look, choose a concealer that matches your skin tone exactly or is just one shade lighter. A shade that is too light will create a reverse panda effect, while a shade that is too dark will emphasize tiredness. This is where color correctors come into play. Using the color wheel, a peach or orange corrector neutralizes the blue and purple tones of standard dark circles. Apply a small amount of corrector first, blend it out, and then layer your regular concealer on top for flawless coverage.
Step-by-Step Guide to Covering Dark Circles
Once you have the right tools and products, it is time to put them to work. Follow this routine for a smooth, crease-free finish.
1. Start with a Primer: Before makeup, a dedicated eye cream or eye primer creates a smooth canvas. Products with caffeine or vitamin C can help reduce puffiness. A good primer prevents your concealer from settling into fine lines throughout the day.
2. Apply Color Corrector (Optional): If your dark circles are very prominent, gently dab a peach or orange corrector on the darkest areas. Use your fingertip or a small sponge to tap the product in, letting it neutralize the discoloration. The goal here is color balancing, not complete coverage.
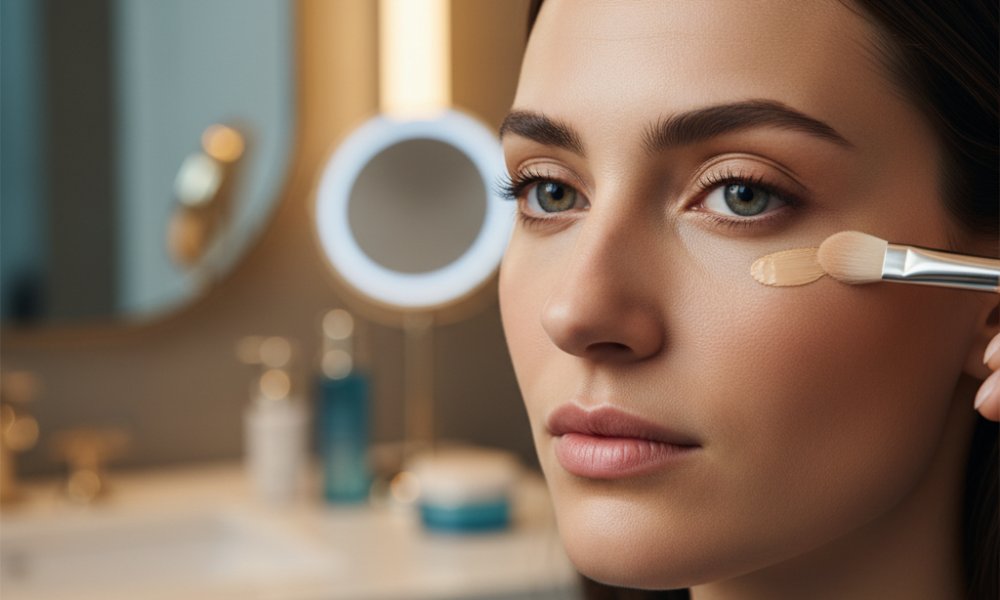
3. Apply Your Concealer: Start at the inner corner of your eyes (the darkest area) and draw a triangle or small dots heading outwards. Apply the concealer in thin layers. It is much better to build up two thin layers than one thick layer that will crease later.
4. Blend with Care: Use a small, tapered concealer brush for the most control and precision. You can also use a damp makeup sponge or your ring finger. The warmth of your finger helps melt the product into the skin for a natural finish. Pat gently—never rub.
5. Set with Powder: Lightly dust a translucent setting powder over the area using a small fluffy brush. This locks the concealer in place and prevents it from fading or creasing. This step is critical for those with oily eyelids or long days ahead.
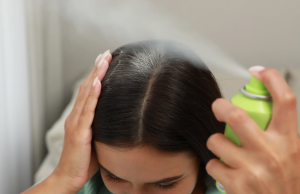
6. Make It Last (Optional): A final spritz of a makeup setting spray will mesh all the layers together and extend the wear of your makeup. Hold the bottle at arm’s length and mist in an X and T pattern for even coverage.
Common Concealer Mistakes to Avoid
Mastering the technique is just as important as having the right product. Here are the biggest pitfalls to watch out for:
- Over-applying product: Too much concealer is the fastest way to look cakey and accentuate wrinkles. Start with a tiny amount and build up as needed.
- Skipping the blend: Harsh lines of demarcation look unnatural. Make sure to blend the concealer seamlessly into your foundation or bare skin.
- Using the wrong shade: Test the shade on your jawline or under-eye in natural light before committing to a purchase.
- Applying too close to the lashes: Keep the concealer on the orbital bone and avoid the lash line to prevent the product from migrating into your eyes or looking unnatural.
- Skipping primer and powder: If you struggle with your concealer breaking up or disappearing, these steps are absolute necessities for longevity.
Frequently Asked Questions
How do I choose a concealer color for dark circles?
Match your skin tone exactly for a natural look, or go one shade lighter to brighten the area. Avoid shades that are too light or ashy, as they can create a gray appearance under the eyes.
What color concealer covers dark circles best?
For blue or purple dark circles, a peach or orange color corrector is the most effective neutralizer. For brownish hyperpigmentation, a yellow or lavender corrector works better. Always top with a skin-toned concealer for a seamless finish.
Can concealer make dark circles look worse?
Yes, if the wrong shade is used or if the product is applied too heavily. A thick, dry formula can settle into fine lines and create shadows, making the area look darker and more textured.